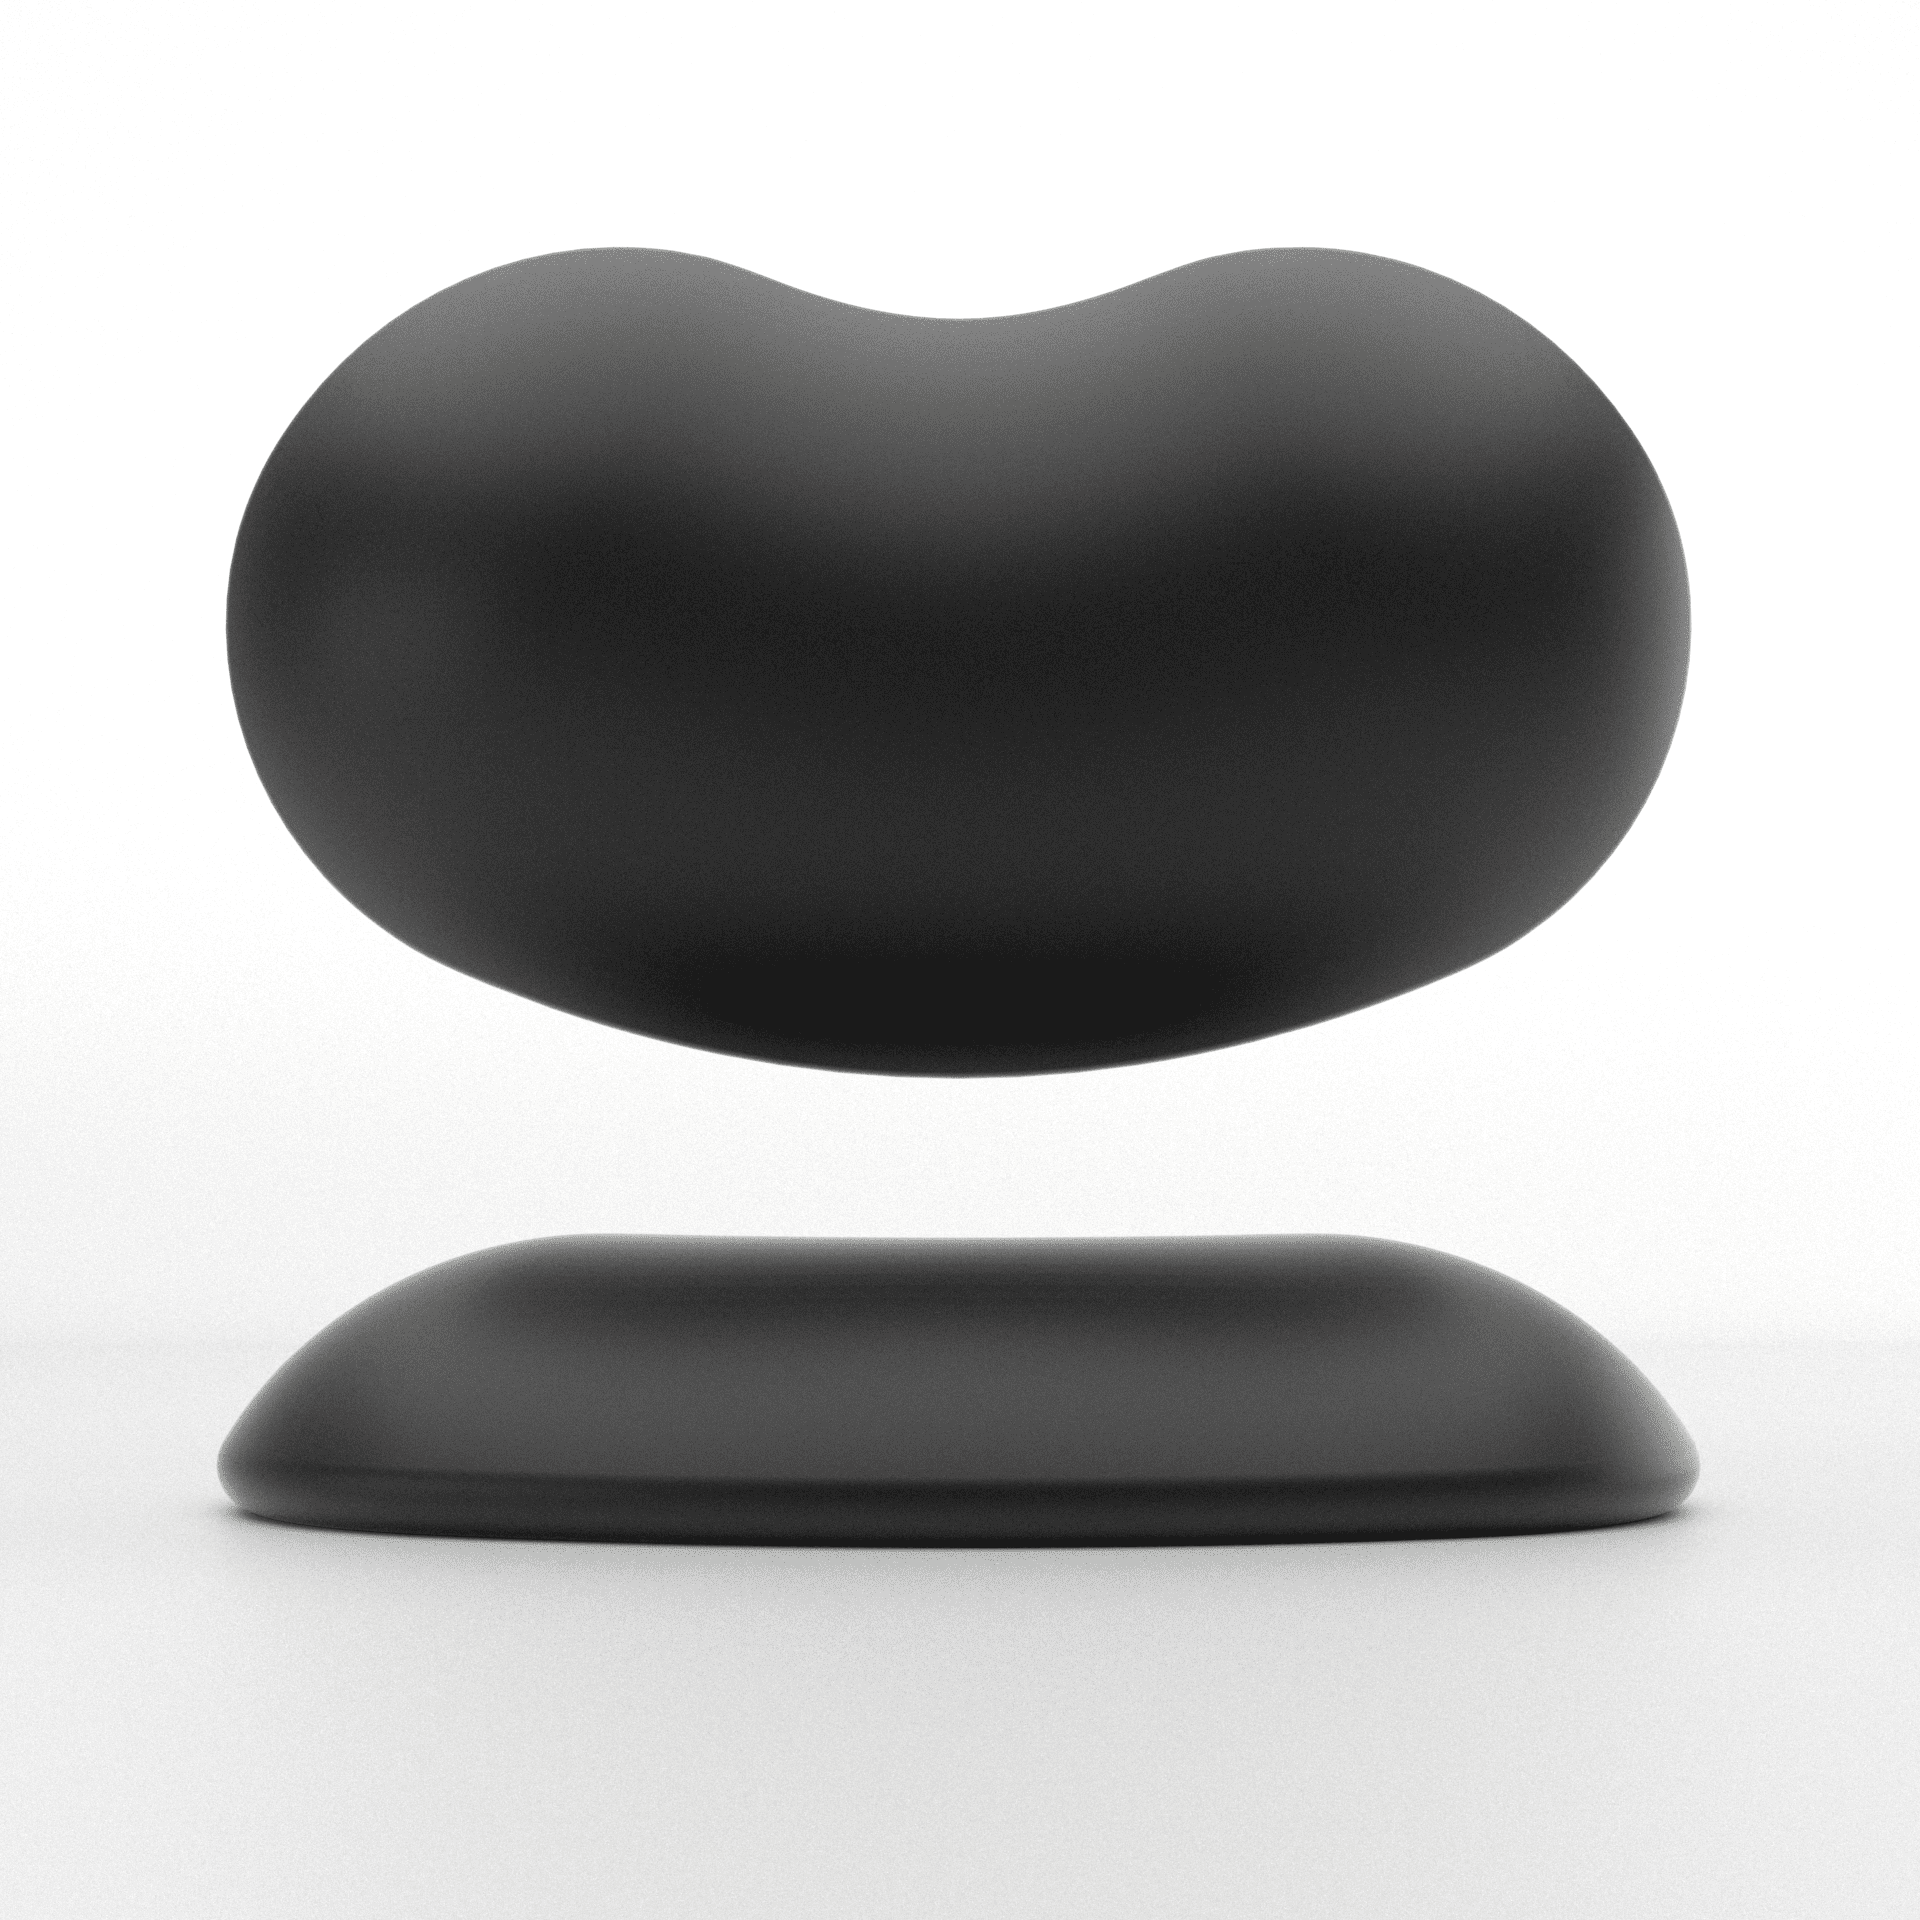
The Fast Radius
Wrist Rest
While this ergonomic cushion will make your work day more comfortable, it’s also a great example of new product development with additive manufacturing. Here’s what we made possible:
Making the unmakeable
The body-centered lattice design makes the rest more comfortable by providing different amounts of support based on the ergonomics of your mouse hand.
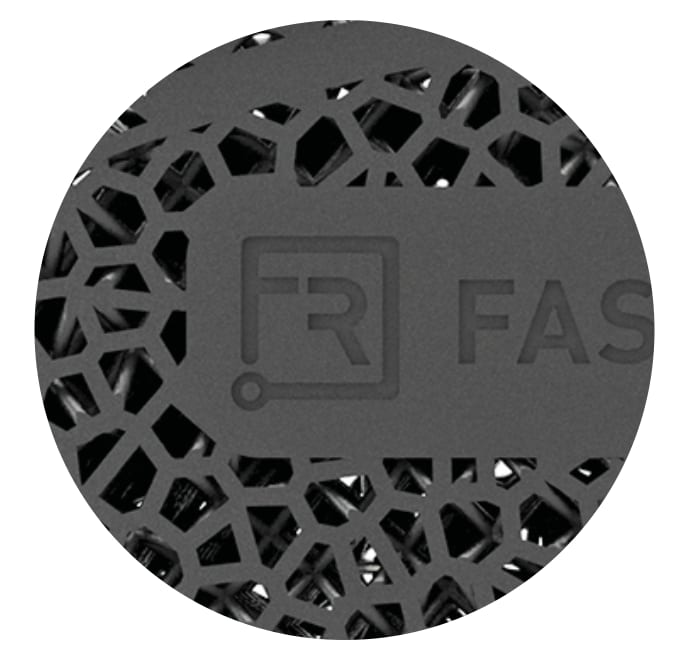
Customization
Each rest features a variable logo on the flat, bottom surface. Because additive manufacturing is inherently digital, changing the logo is easy as swapping the element in your design file.
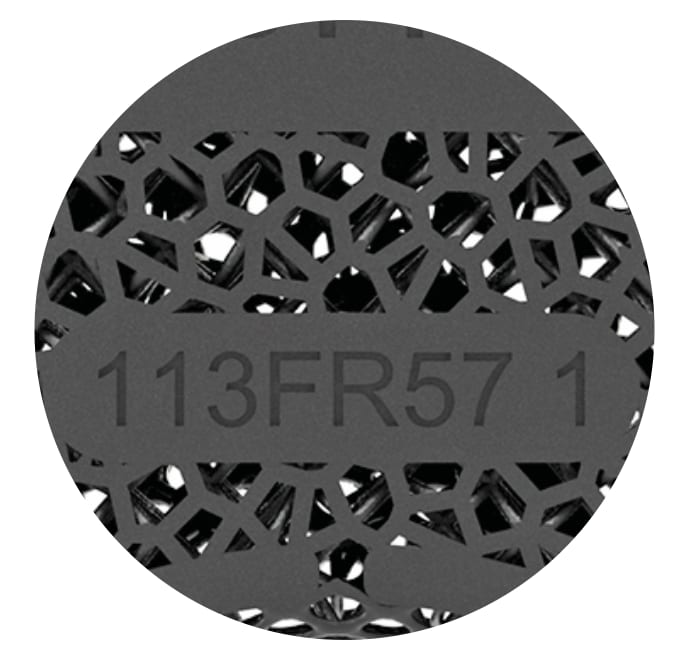
Serialization
By building a serialization workflow into the Carbon® Digital Light Synthesis (DLS)™ manufacturing platform, we automatically added unique serial numbers to the bottom of each rest.
The wrist rest: the basics
Almost amazing as the wrist rest itself is the fact that we made it in just 7 days; all the way from initial concept to final print. We designed, printed, and tested four prototypes, finally settling on a wrist rest with the following properties:
Material: EPU 40
Size: 76mm x 136 x 25mm
Weight: ~ 50g
Latticing software: nTop Platform
Primary lattice unit cell: Body-Centered
Print time: ~80 min
Designing the wrist rest.
A step-by-step guide to latticing.
The steps below walk you through how we optimized the design of our wrist rest for ultimate usability and comfort.
1. Shape
Start by creating the base part geometry to be filled with the lattice and other design elements. This allows the shape and geometry to be evaluated before moving on to more refined latticing. Flat surfaces typically serve as starting points for latticing tools.
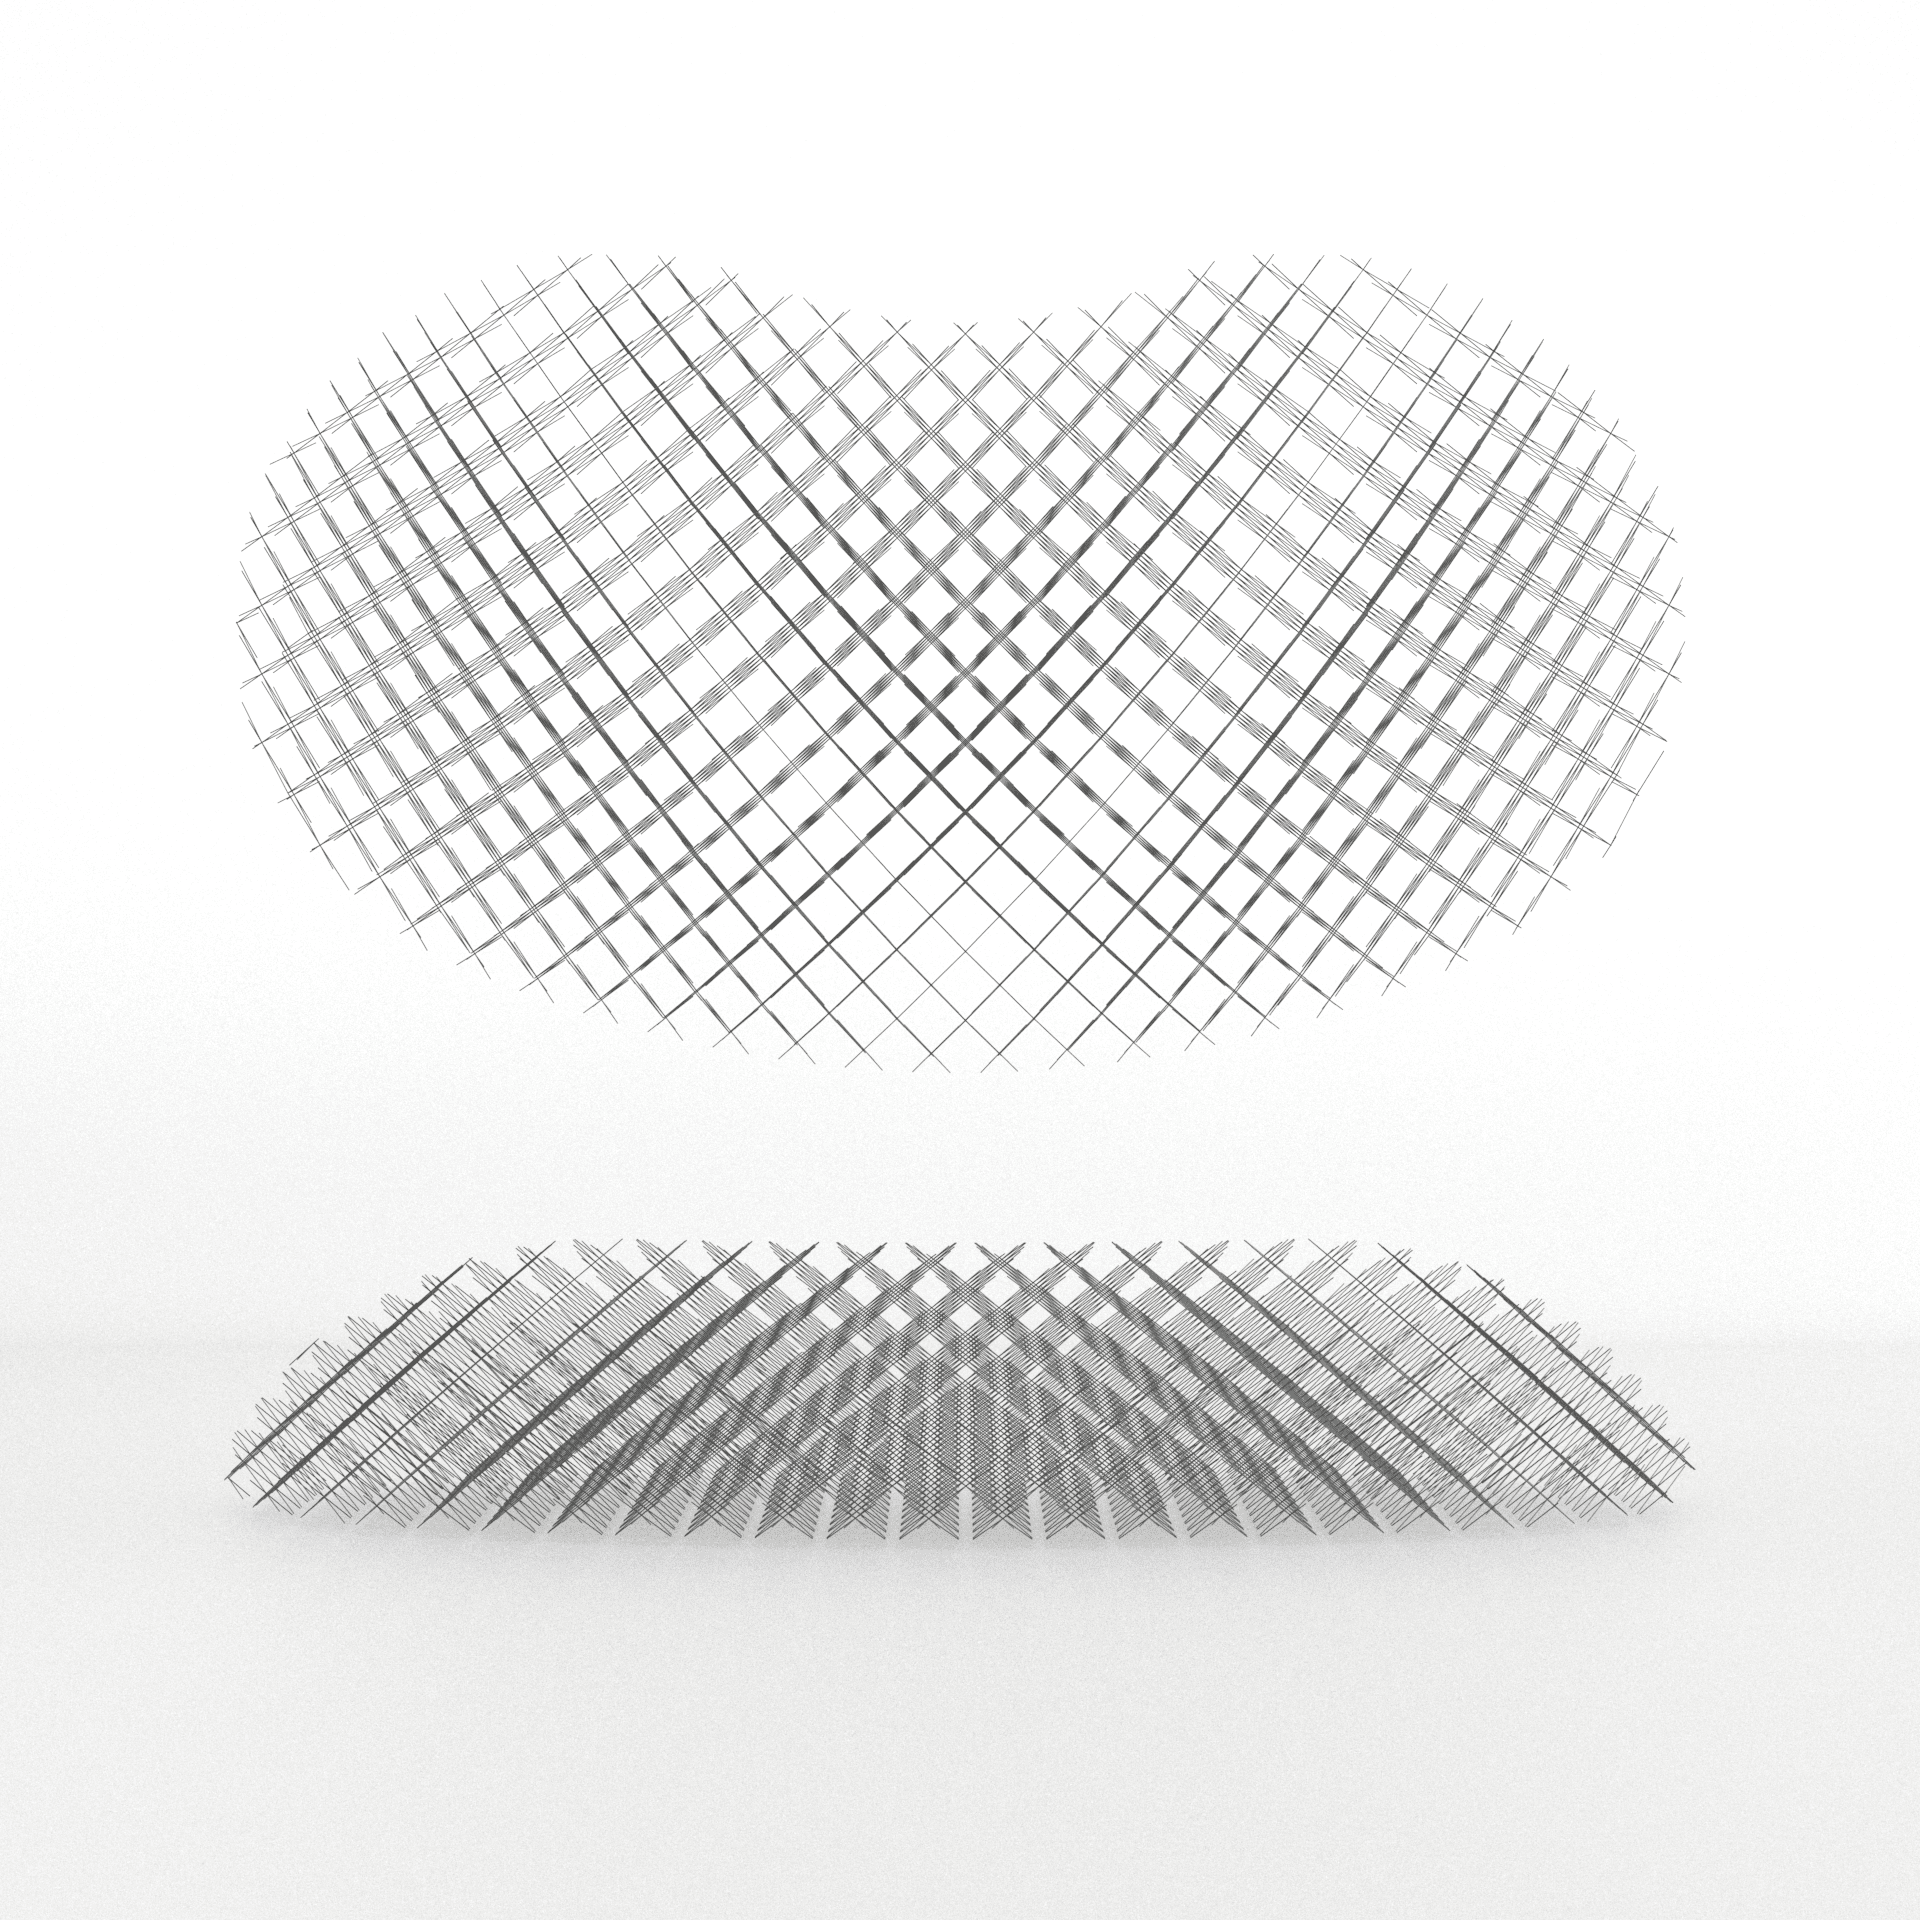
2. Lattice
Generate the wireframe of the lattice structure that conforms to the part geometry. This wireframe consists of a repeated lattice “unit cell,” which includes connections like beams and nodes without “thickness.”
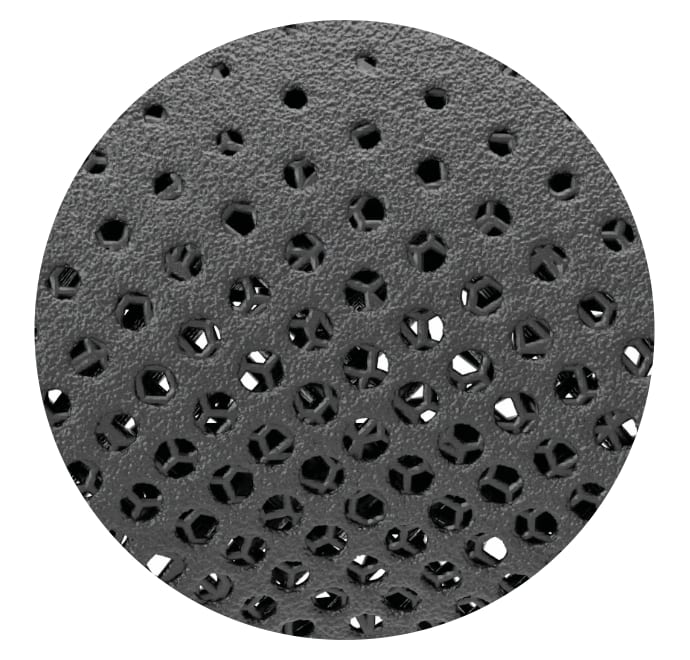
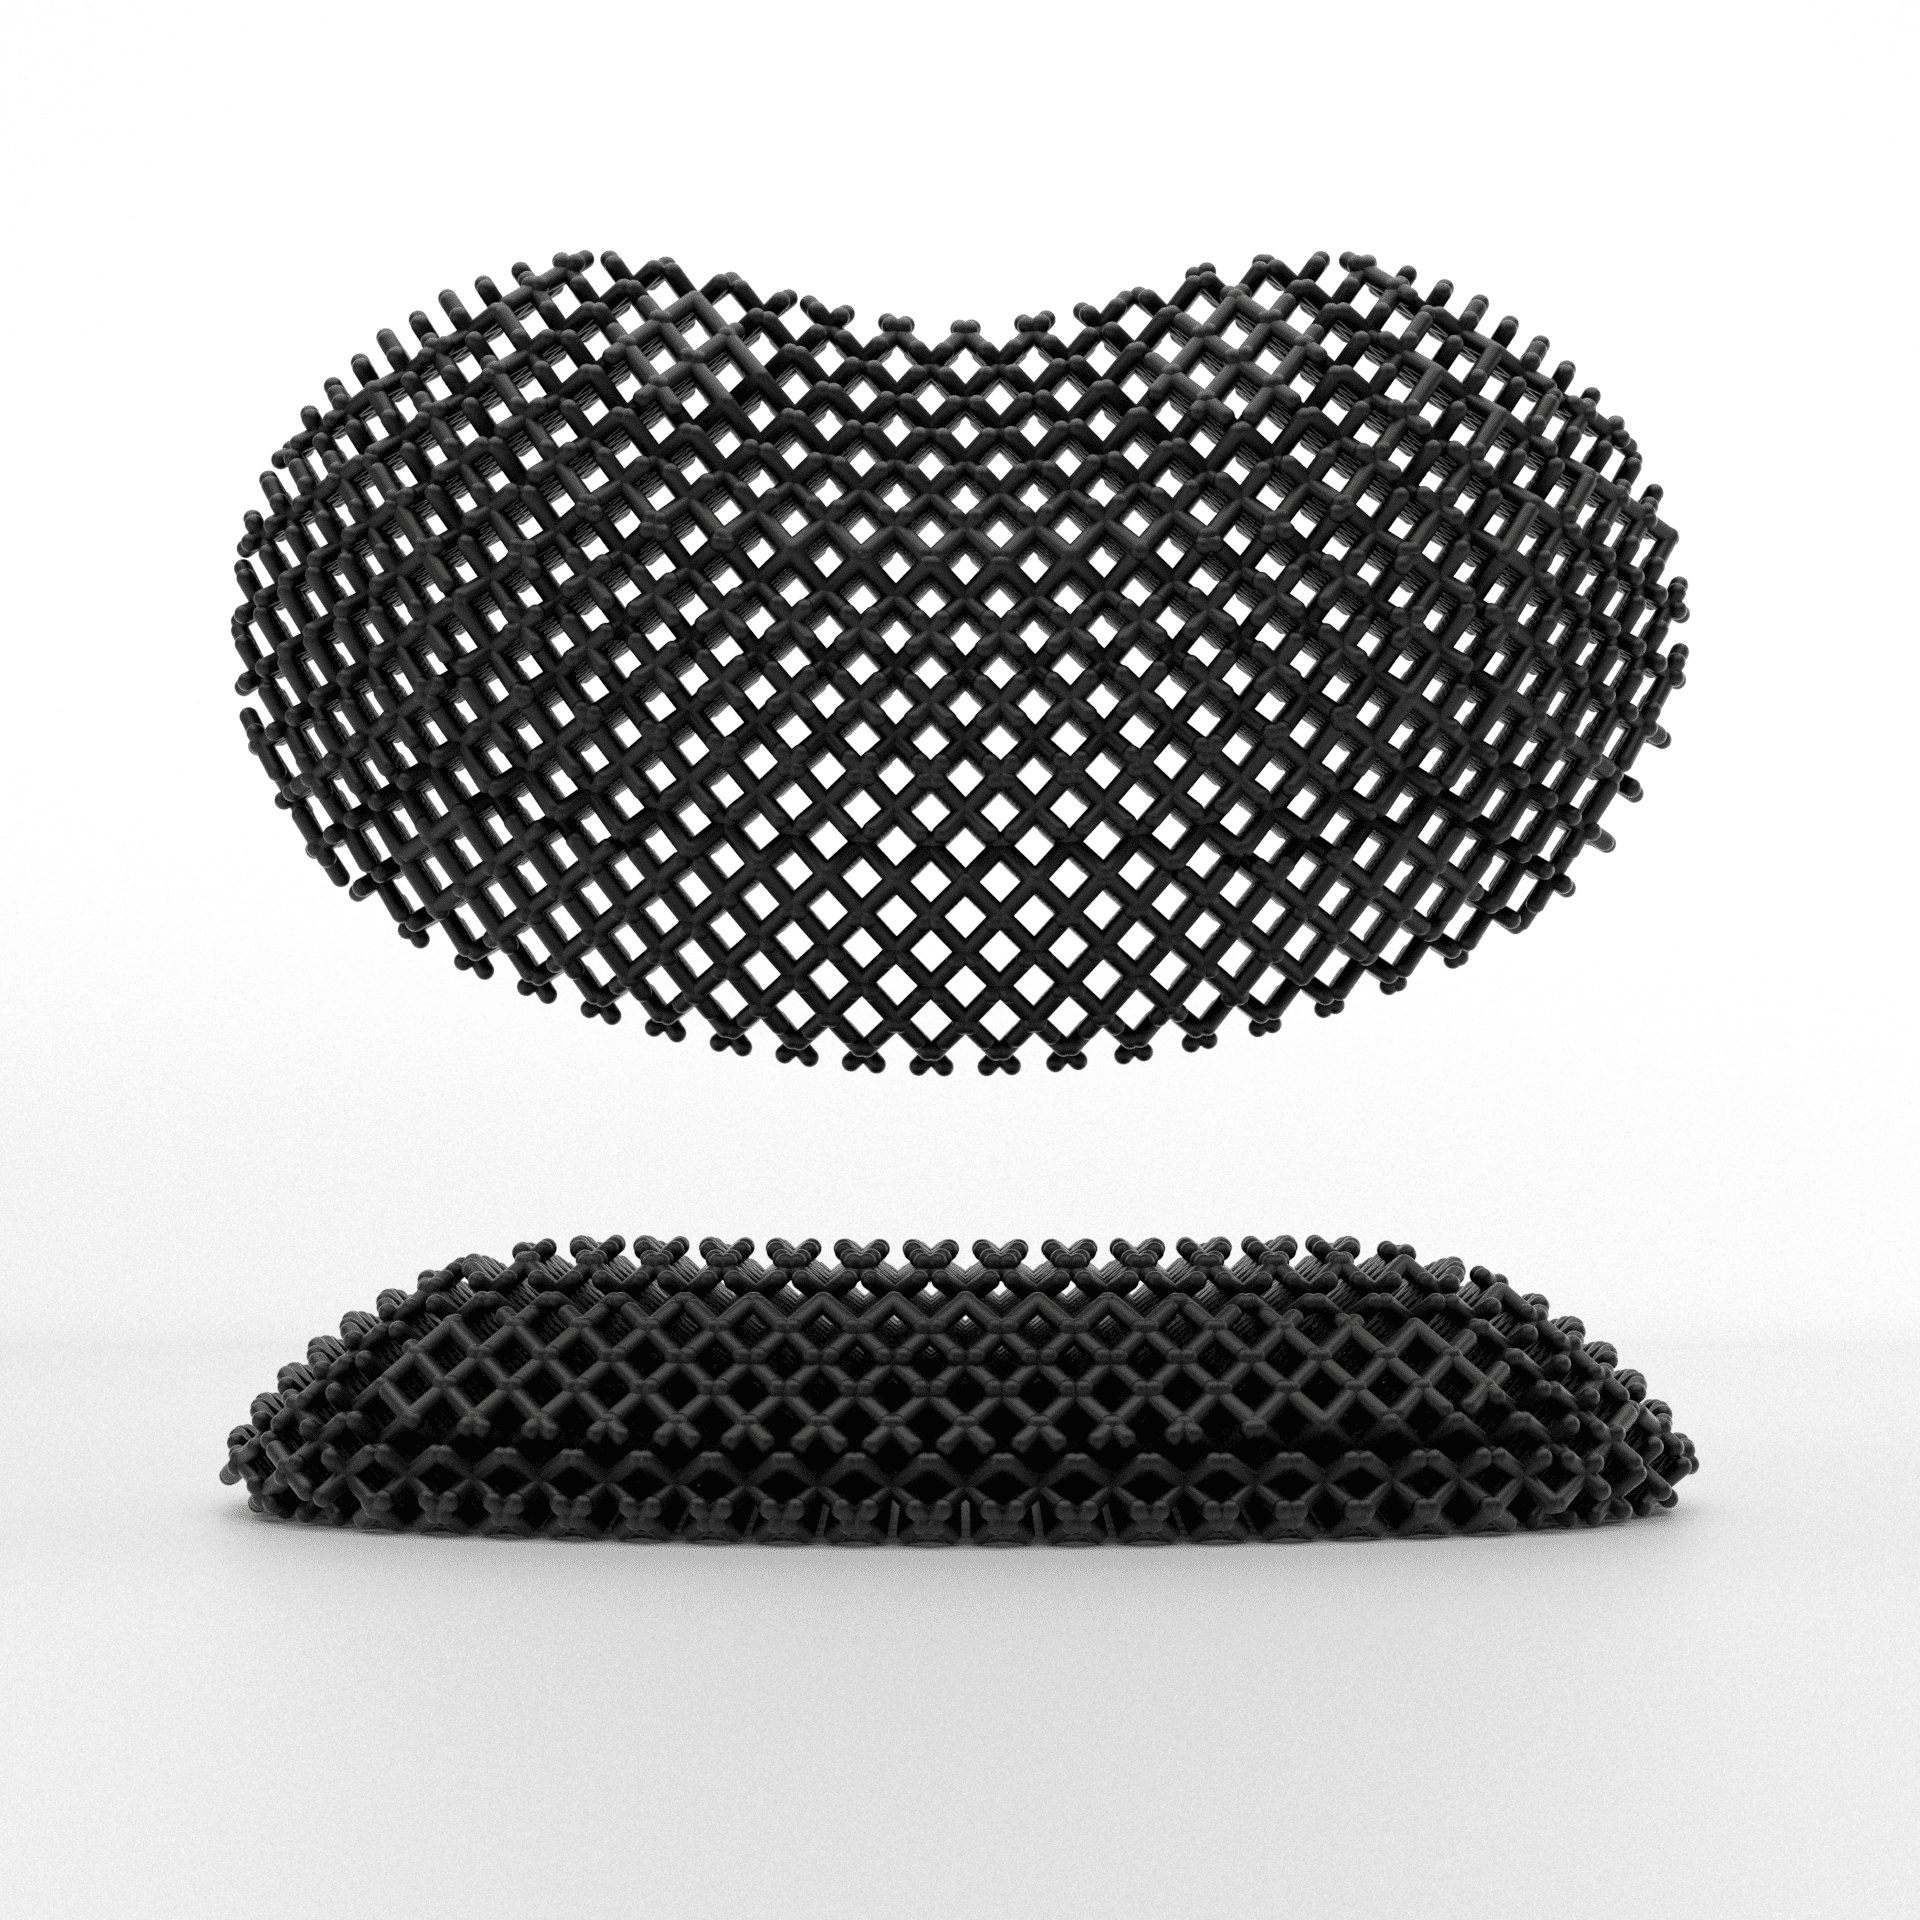
3. Thicken
Thicken the lattice structure uniformly, with the radius of each beam around the wireframe a constant value. This approach is adequate in situations where you’re not trying to achieve a variation in stiffness.
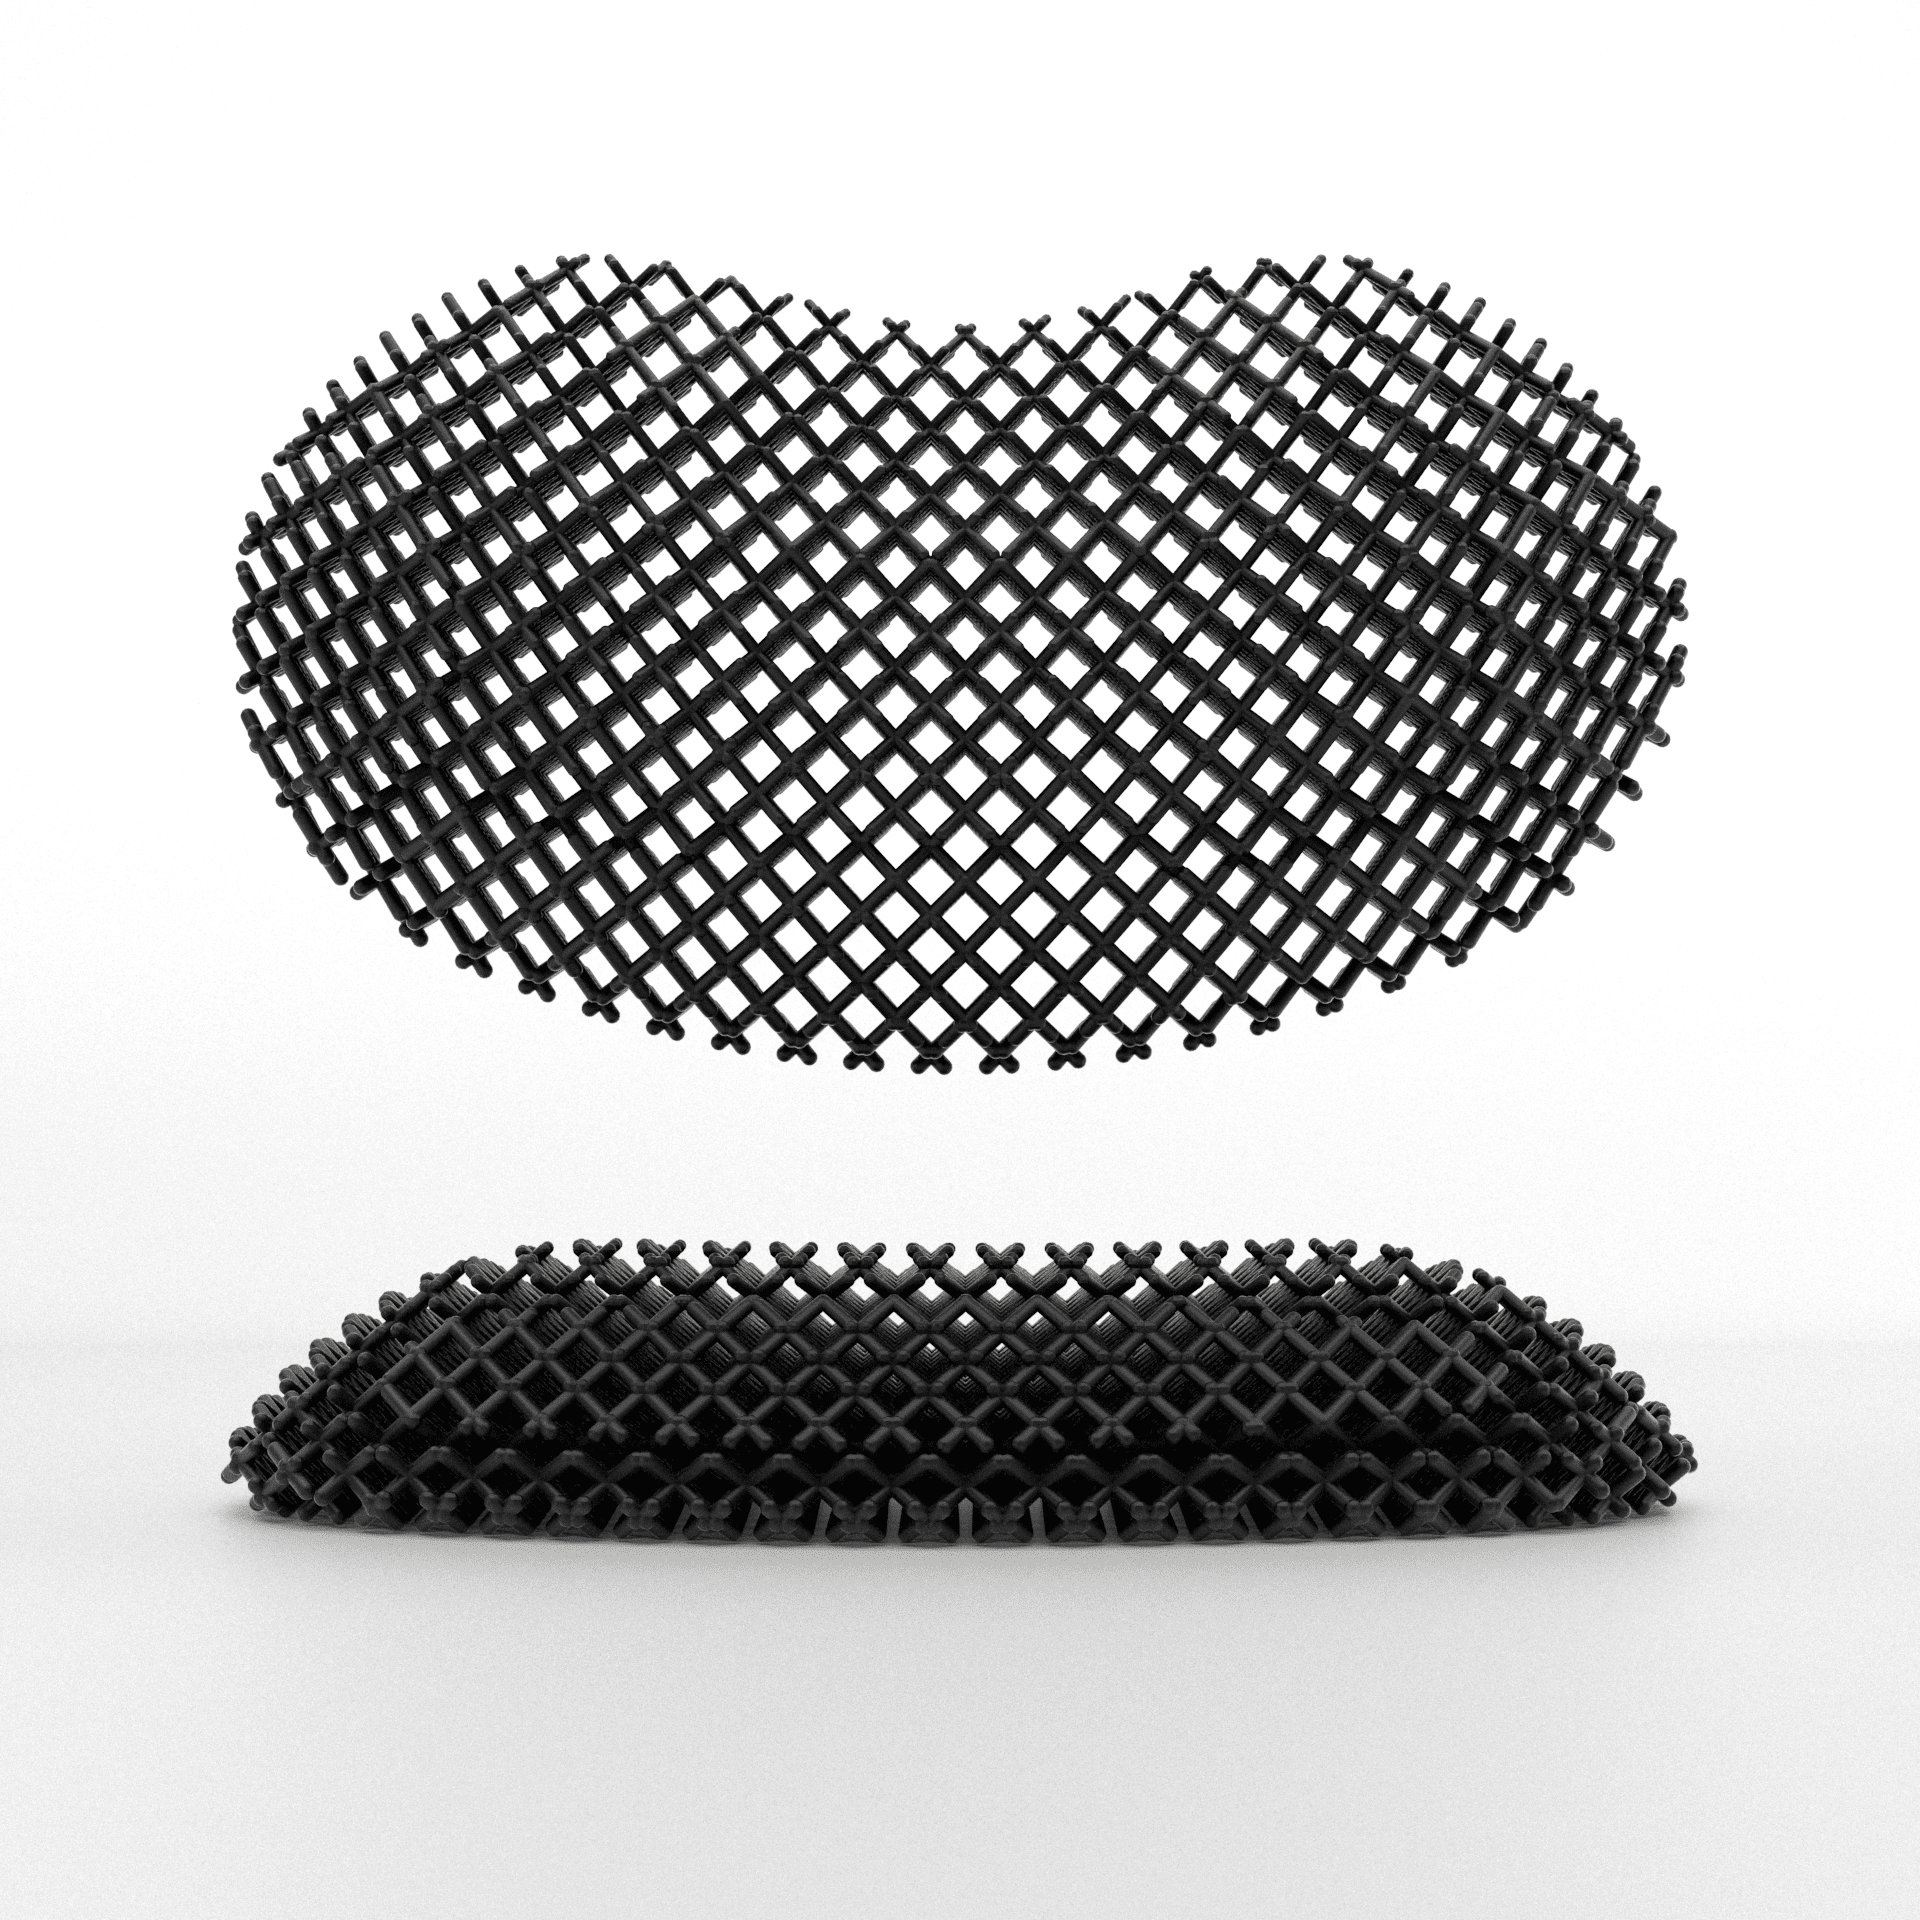
4. Adjust
Vary the thickness of the lattice around the wireframe by using a field-driven design approach. If you look closely, you can see a thickness gradient that spans the front to the back of the rest.
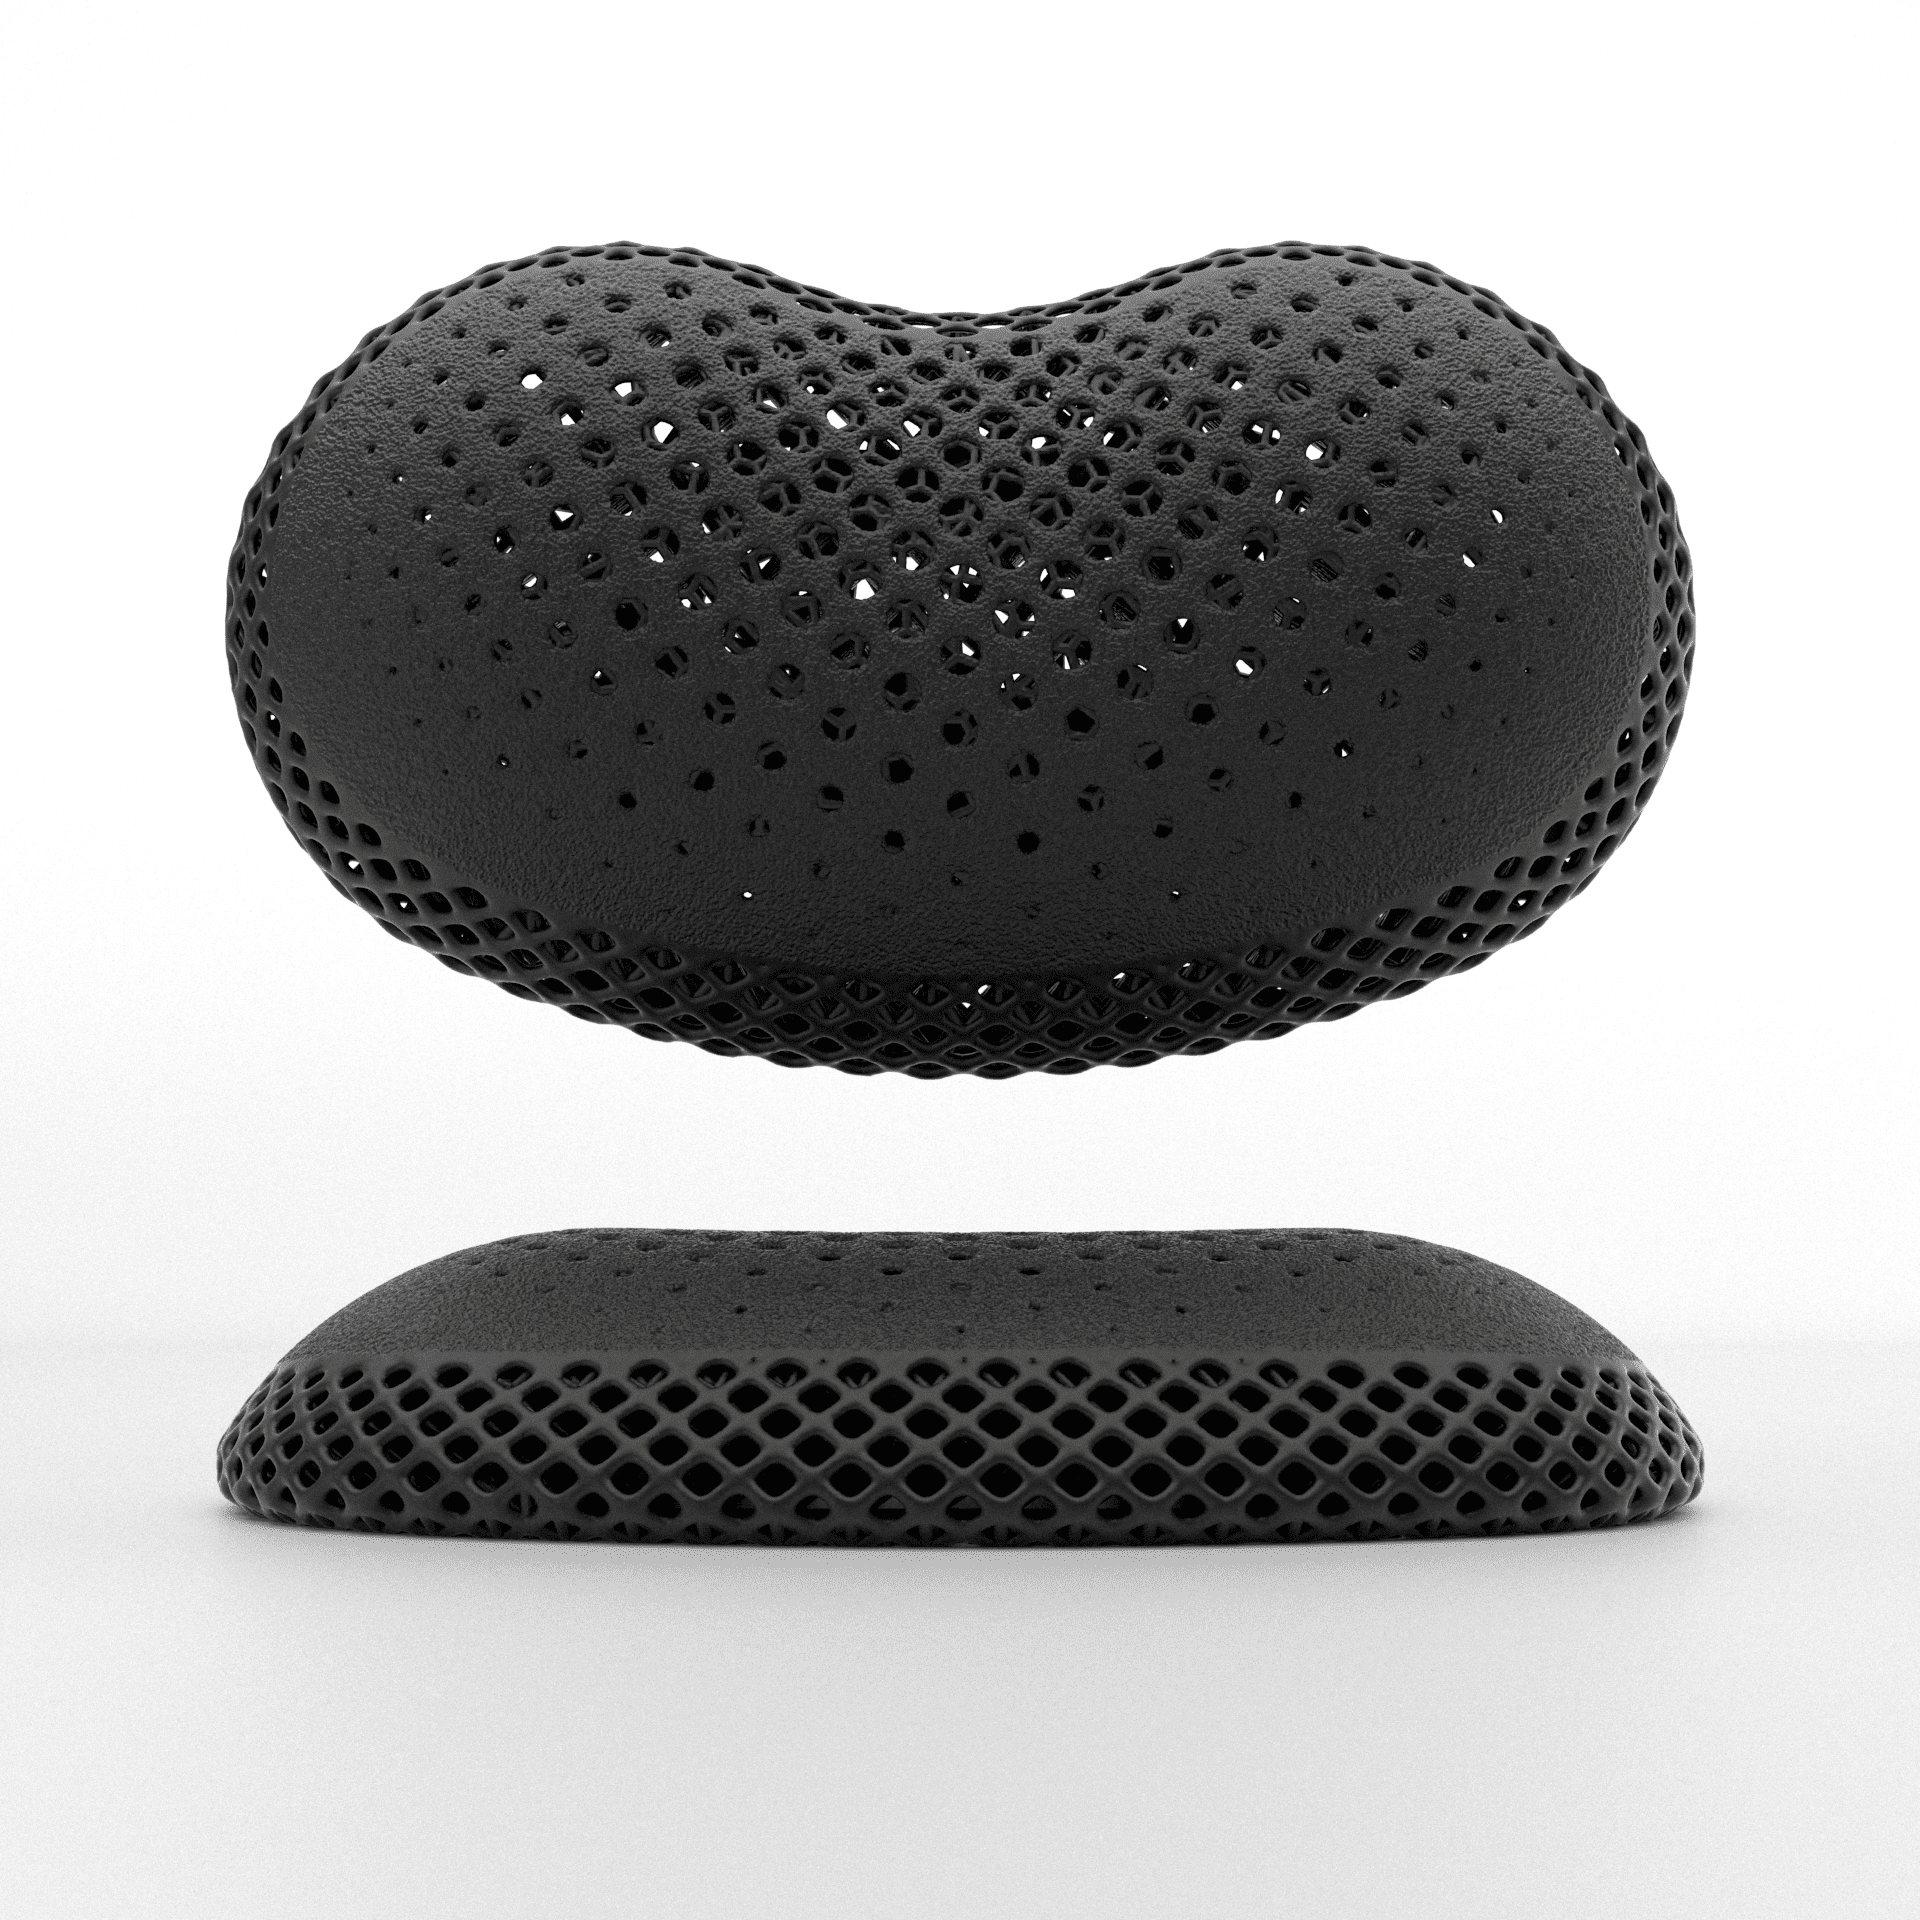
5. Details
Add all non-lattice geometry to the part, including a border, logo, serialization, and a top skin for aesthetics.
Want to start incorporating lattices into your designs? Visit the Fast Radius learning center for even more information.